You’ve bought a new machine, what now?

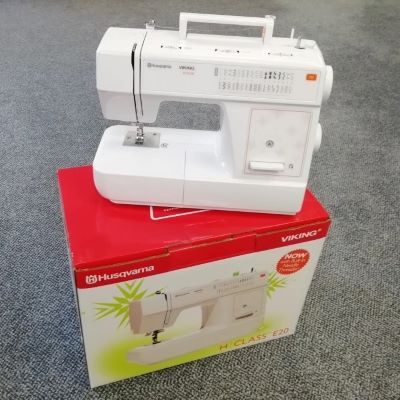
A new embroidery or sewing machine can be quite an investment so it’s important to take good care of it. There are a number of simple steps you can take to make sure that your machine stays in good working order, so read on to find out what we recommend for stress-free machine ownership.
1. Keep your packaging
Keep the original packaging, including the polystyrene inserts. This is designed to fit your machine perfectly and will protect it from knocks and bumps while it is being transported, whether that is for its yearly service, if you have to move house or even just to take it to a class.
2. Regular service
It’s advisable to get your machine serviced yearly to make sure that it stays in tip top condition. During a service, the engineer will strip down your machine, clean and lubricate it as necessary, perform a safety check of the electrical parts and reset it to the manufacturer’s specifications. They will then conduct a full sew test, balancing the feed mechanism, thread cutters and tensions. If you’re a heavy user but it isn’t time for a full service yet, then an interim service may also be beneficial – we strip off the covers, clean and lubricate where necessary, balance the tensions and feed and then conduct a sew test. What about if you haven’t used your machine for a long time? This can cause its own problems, from not having the latest updates on a computerised machine, to seizing up through inactivity.
Make sure that you keep a note of your purchase date so you know when to book it in for its first service – I have a reminder set on my phone so that I don’t forget! If you are interested in a service then you can request a call from us to make arrangements.
3. We register your warranty
There’s no need to worry about registering your warranty, we take care of that for you when you buy with us. Do keep a note of your warranty length though, as once your warranty is up, you can purchase an extended warranty from us. This can include a service in the price, depending on which version you select, so can end up paying for itself!
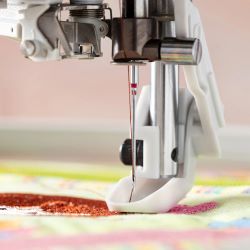
4. Replace your needle
It’s easy to overlook, but your needle is the part of the machine that does all the heavy lifting. It will become dull over time so make sure to replace it regularly with a new, good quality needle that is appropriate for the fabric and thread you are using – universal needles are not always best! We recommend Schmetz needles.

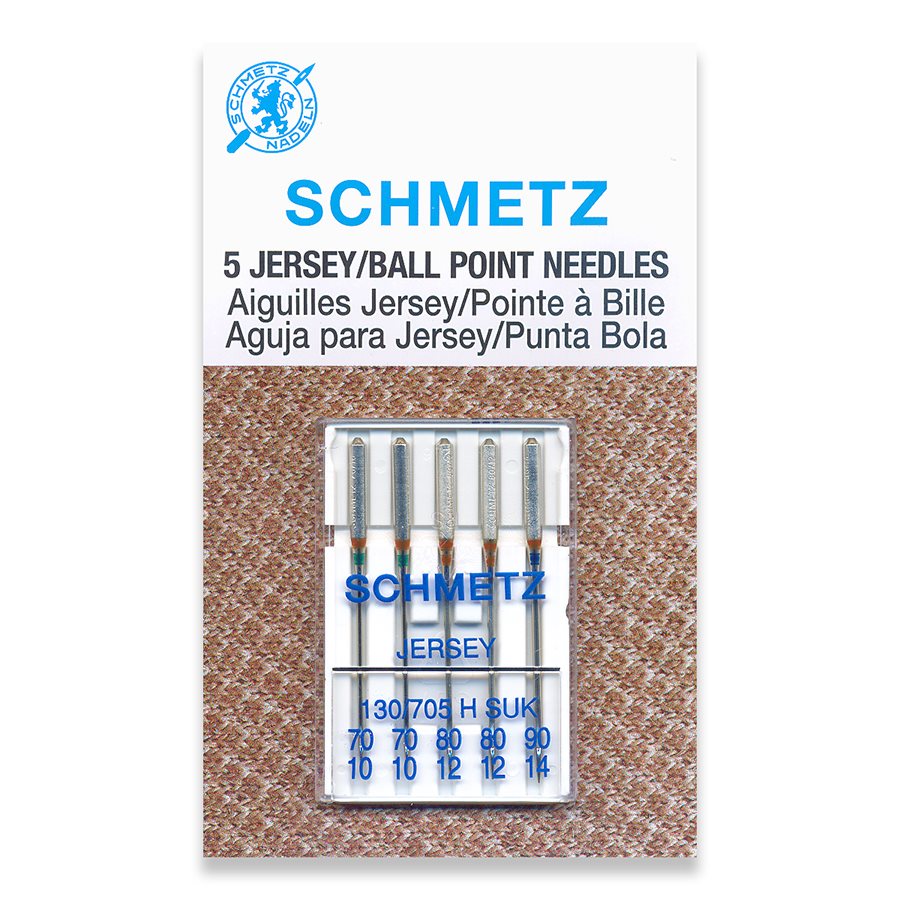
Middle: Jersey needles have a ball point, which won’t damage the fibres of your fabric.
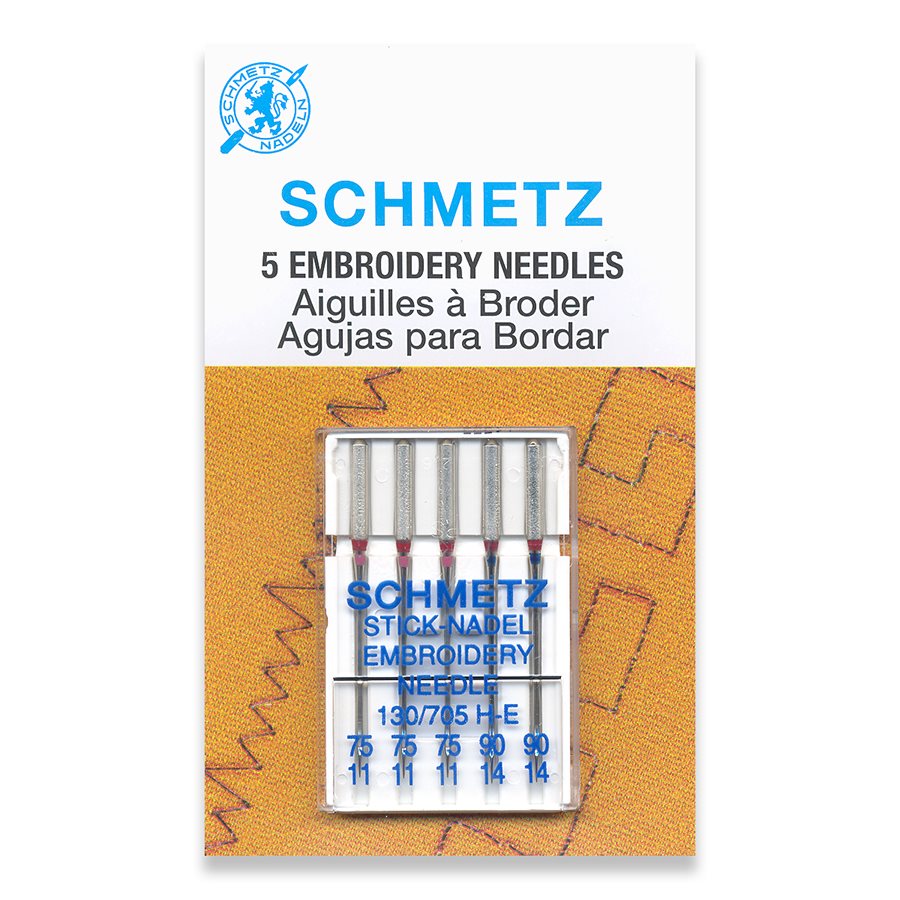
Right: Embroidery needles are designed to prevent excess friction and so prevent thread breakage.
5. Use good quality threads
It can end up a false economy to use cheap threads. We recommend Gutermann, Madeira and Mettler threads as these produce less fluff and are less likely to shred or snap. Like needles, make sure you use the right thread for the project you are working on. Don’t forget to match your needle to your thread – if you aren’t sure which needle is best for your thread then have a look at the description of the thread on our website, as this gives the recommended needle type and size.

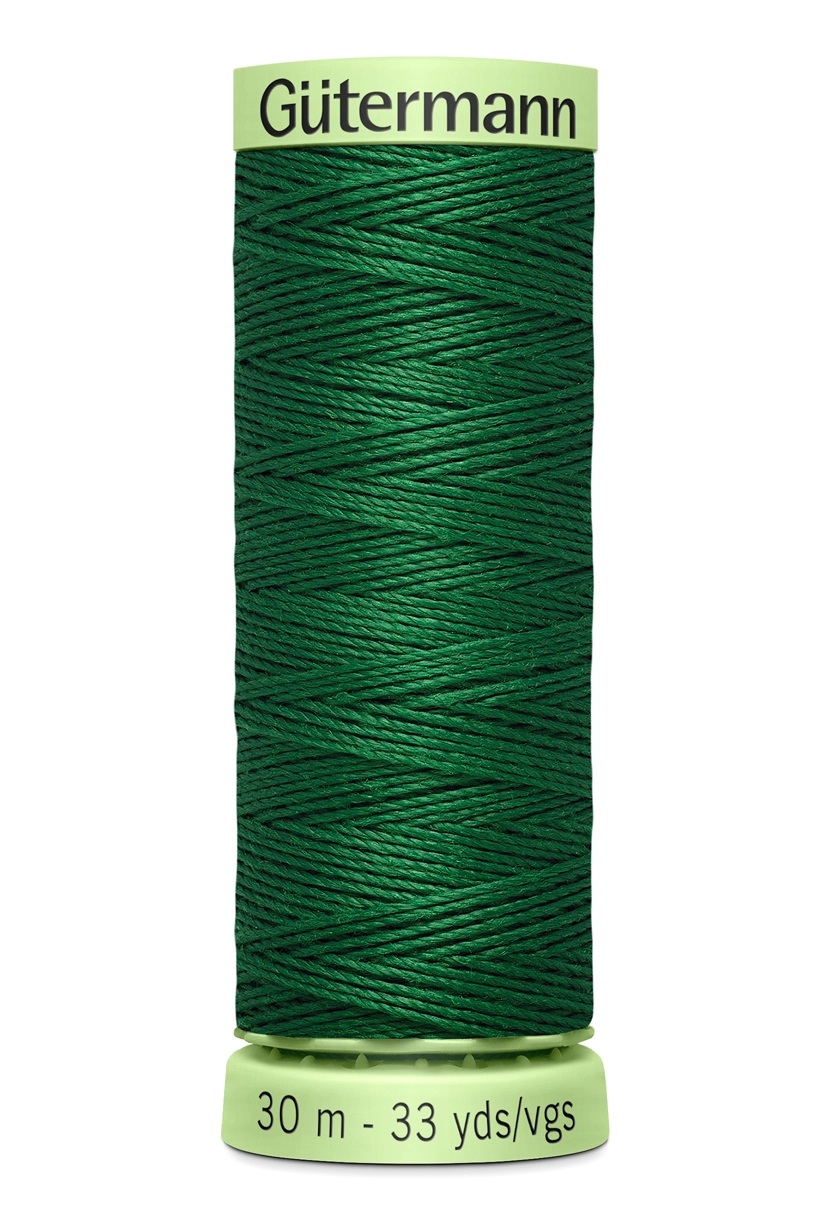
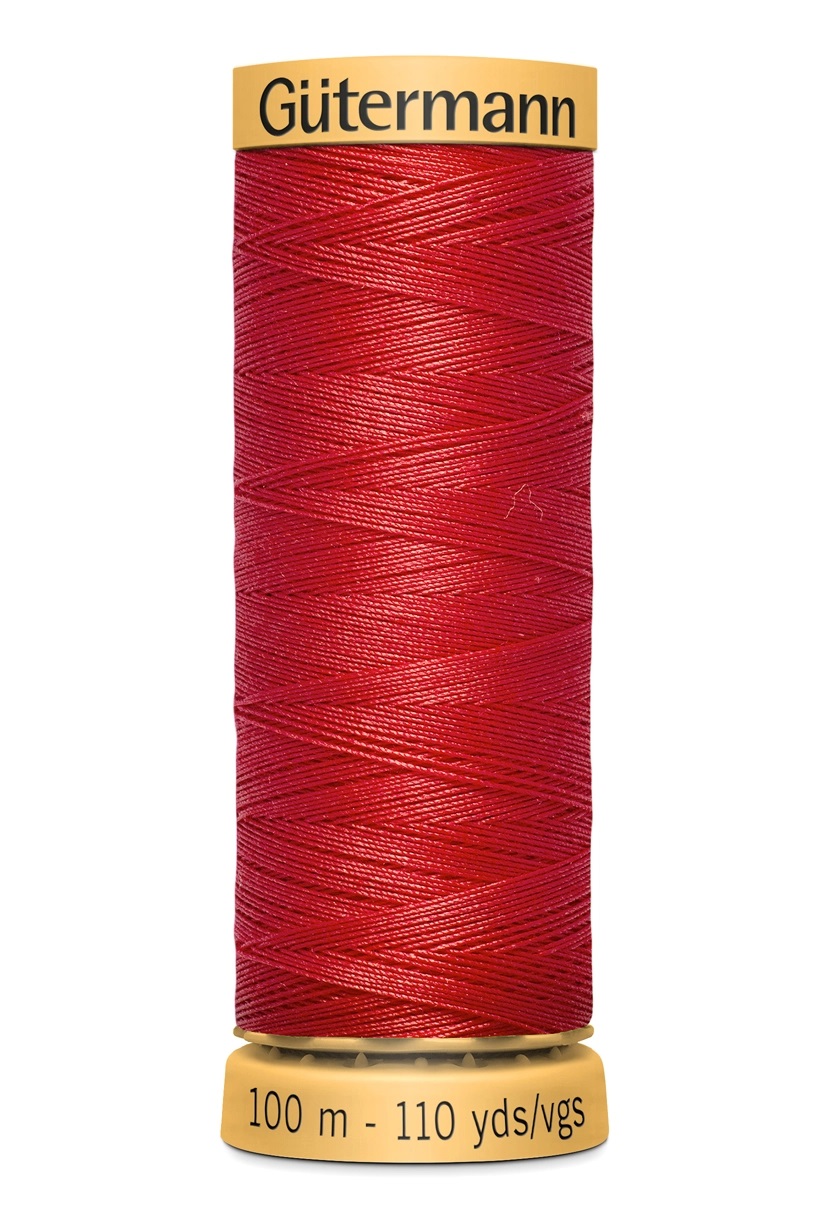
Middle: Gutermann Top Stitch thread is strong and lustrous and will give your topstitching that extra edge.
Right: Gutermann Natural Cotton thread is great for quilting as it is mercerised for strength and can take the heat when pressing.
6. Use approved accessories
If you have a Husqvarna Viking machine then it’s best to use Husqvarna Viking accessories. Not all accessories are compatible with all machine models so make sure the accessory you have chosen is suitable for your make and model. If you’re not sure whether a Husqvarna Viking accessory is suitable for your machine then just drop us an email and we will be able to help. There are so many accessories that can make sewing a breeze so check out the Accessories Catalogue to see what’s available – this also has handy information about compatibility.
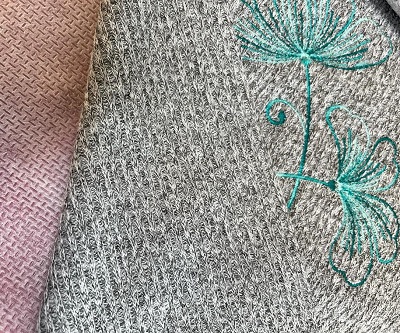
7. Clean out debris
Debris can build up inside your machine over time so it’s a good idea to regularly remove broken threads and lint from around bobbin area. Some fabrics (e.g. velvet, towelling) create more lint than others so keep an eye on fluff buildup if you are sewing or embroidering on these. Just look at the picture below to see how lint can build up inside a machine – this shows how important a regular service is because it was necessary to take off the covers to remove it (which should only be done by a trained service technician). Neil gives you more information about cleaning out your machine in his January 2022 post, which is well worth a read.

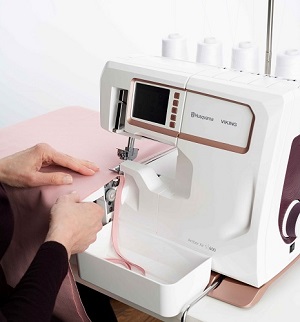
8. Check your threading technique
Even the most experienced stitcher can make a mistake in threading their machine, from wrapping it in the wrong direction to missing the tension disks. A mis-threaded machine can create all manner of problems, so checking your threading is always a good first step if your machine isn’t working as it should – you can refer to the guide in your user manual. Overlockers can be complicated to thread (except the amazing air-threading Amber Air S|400 and S|600) but Husqvarna Viking have added comprehensive threading guides to their YouTube channel for the S15, S21 and S25.
9. Maintain your machine
As I mentioned earlier, Neil has already written about how to maintain your sewing machine, and you can also refer to your user guide to find out how to clean out dust and lint as well as oil your machine (if necessary) to keep it running smoothly.
10. Troubleshooting
Having problems? Refer to the troubleshooting guide in the back of your manual – this is an excellent first port of call and can help to resolve a number of issues. If you’re still having trouble then drop us an email or give us a call!
It’s so exciting to get a new machine but you can want to tear your hair out when you don’t get the results you’re excpecting! Following these steps will help to keep your machine working beautifully and make your stitching the best it can be.
February 25, 2022
|
View: 202
|
Categories: Tips & Tricks, Machine Care
|
Tags: Overlockers, Sewing Machines, Embroidery Machines, Machine Care, Tips & Tricks
|
By: Ellie
About the Author

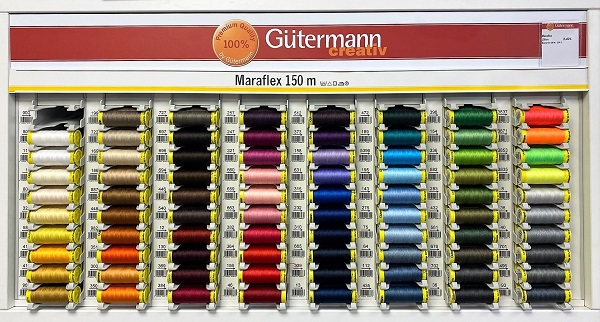
Gutermann Maraflex – a game changer for stretch sewing
February 24, 2023

Keeping your machine in tip top condition
January 28, 2022
Choosing embroidery stabilisers
October 14, 2021

10 Reasons why I love mySewnet Embroidery 2021
December 29, 2021

Hello Sewgirl!
February 9, 2024
Needle knowledge every stitcher needs
January 17, 2024

A Cut Above
November 6, 2023

Comments