Tension caused by tension!


One of the biggest issues people have with their sewing machines seems to be tension. The tension is the amount of pressure placed on the upper and lower threads to form the stitch. There is an upper tension and a lower tension: one controlling the top thread and one controlling the bottom thread. The tension should be set so that the threads interlink in the middle of the fabric, but if the tension is unbalanced then you may find your thread looping underneath or on top of your fabric.
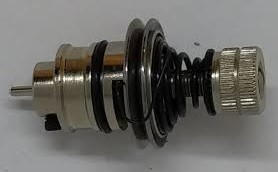
A basic view of a sewing machine tension unit:
the discs for the thread, spring and adjust dial
(clockwise tighter, anti-clockwise looser)
Before you adjust your tension
The first and simplest thing to do to correct a tension issue is to check the needle is okay – check it’s the correct thickness for the fabric (heavier fabrics require a thicker needle) and not bent or blunt.
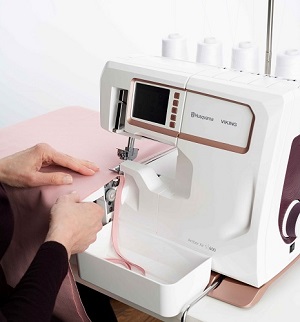
Secondly, check and re-check the threading! Ensure the presser foot in its raised position when you thread the upper threading, as this opens up the upper tension discs that control the thread flow. The thread needs to go in between the discs, and through all the relevant thread guides. When threading the bobbin case, follow the direction of threading as per your manual, and ensure the thread goes under the tensioning spring (please check your manual for precise guidance on how to thread your machine).
No matter how experienced a sewer you are, it is surprisingly easy to mis-thread your machine so if you find a big bird’s nest of thread underneath your stitching then the chances are you have missed a critical part of the threading, so check, and check again!
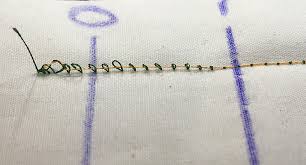
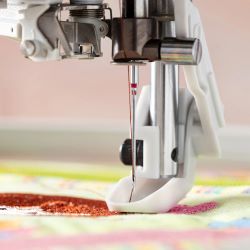
Looping like this is a common sign of a mis-threaded machine
If the tension is still not good, there may be fluff or a lump of thread under the bobbin case tension spring, or in between the thread tension discs. Work a used needle in between the upper discs and under the bobbin case spring, you may be amazed at what comes out!
Adjusting your tension
If you have tried the steps above and you are still having issues then it's time to adjust the tension dial:
- If the knot is showing below the fabric, then the upper tension needs increasing, (clockwise) e.g., from number 4 to number 5.
- If the knot is showing on the top of the fabric, then decrease the upper tension (counter-clockwise) e.g., from number 4 to number 3.
Only adjust the upper tension, the lower tension (bobbin case tension) is factory set and should not be adjusted! Always keep a note of the original number setting to refer back to – it can be helpful to take a quick photo of your current settings before you make any changes.
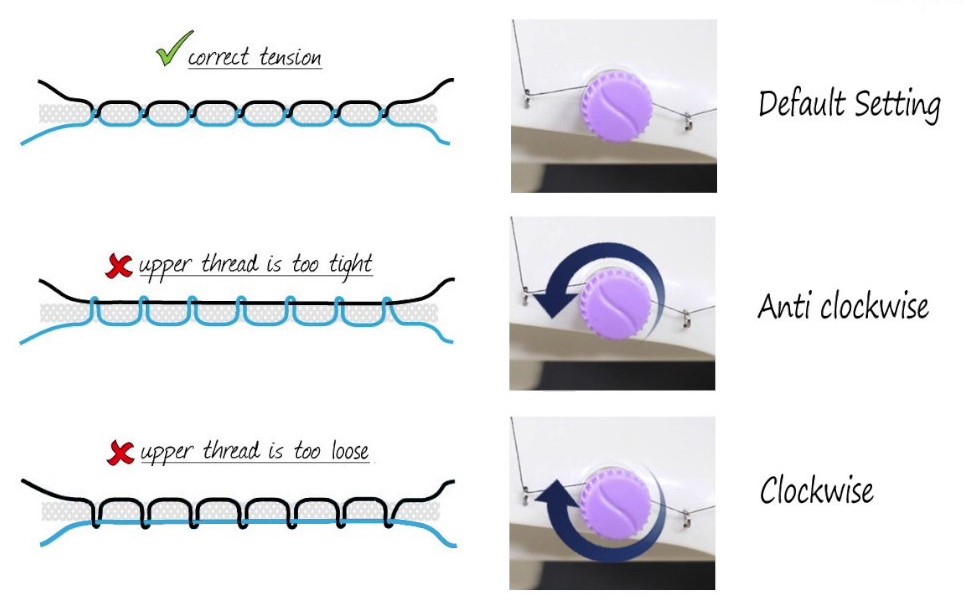
Increasing and decreasing the upper tension on your sewing machine
If the fabric is puckering, change the needle for a finer (new needle) and use a good quality thread. If there is still a slight pucker, then decrease the upper tension (anti-clockwise) by half a number at a time until it looks okay.
So if you find yourself with tension issues, don’t panic – the majority of problems can be solved by following these steps!
September 27, 2021
|
View: 1195
|
Categories: Tips & Tricks, Machine Care, Sewing
|
Tags: Patchwork & Quilting, Embroidery, Patchwork, Quilting, Sewing, Troubleshooting
|
By: Neil Coles
About the Author

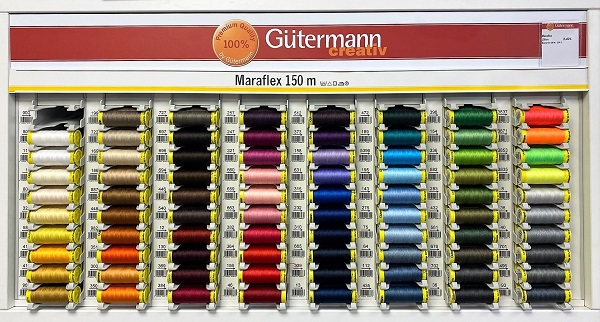
Gutermann Maraflex – a game changer for stretch sewing
February 24, 2023
Tension caused by tension!
September 27, 2021

Keeping your machine in tip top condition
January 28, 2022
Needle knowledge every stitcher needs
January 17, 2024
Common Sewing Machine Problems and How to Fix Them
October 3, 2024
Pre-owned and Ex-Demo vs New Sewing Machines
July 11, 2024


Comments